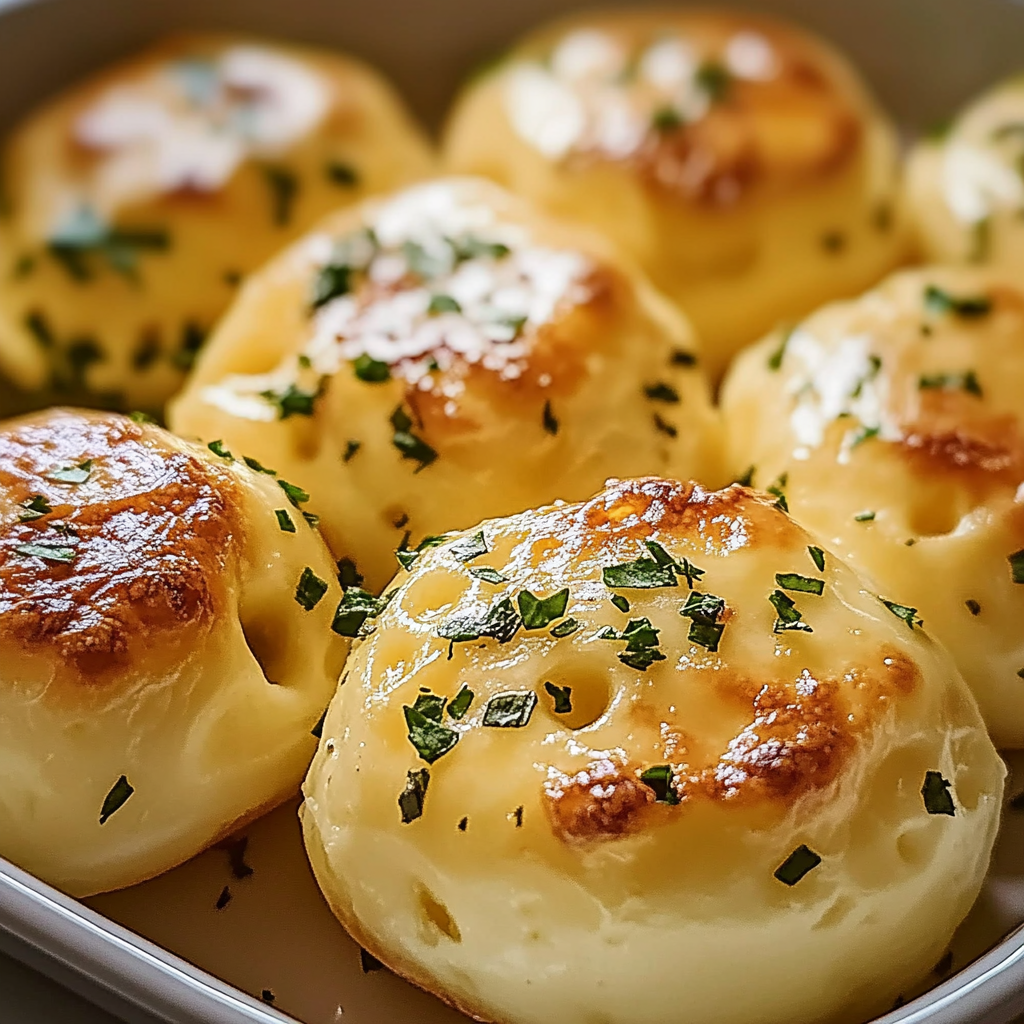
This is the moment we all crave—the warm aroma of freshly baked dough mingling with the irresistible scent of melted cheese and roasted garlic. Imagine pulling apart a soft, fluffy bomb that bursts with gooey cheese as you take your first bite. It’s not just food; it’s an experience that sends your taste buds on a rollercoaster ride of joy.
These Cheesy Garlic Butter Bombs aren’t just delicious; they hold a special place in my heart. Picture this: a family gathering where these little morsels disappear faster than you can say “More butter!” Everyone around the table grinning like Cheshire cats, and I’m left wondering if I should make another batch or just hide some for myself. Spoiler alert: hiding never works!
Why You'll Love This Recipe
- These cheesy garlic butter bombs are simple to prepare and guaranteed crowd-pleasers
- The flavor profile combines rich buttery goodness with savory garlic and stretchy cheese
- Each bite is visually appealing, making them perfect for gatherings
- They’re versatile enough to serve as an appetizer, snack, or side dish at any meal
Sometimes I still hear my cousin’s laughter when she discovered how many she could eat in one sitting—they were practically gone before they hit the plate!
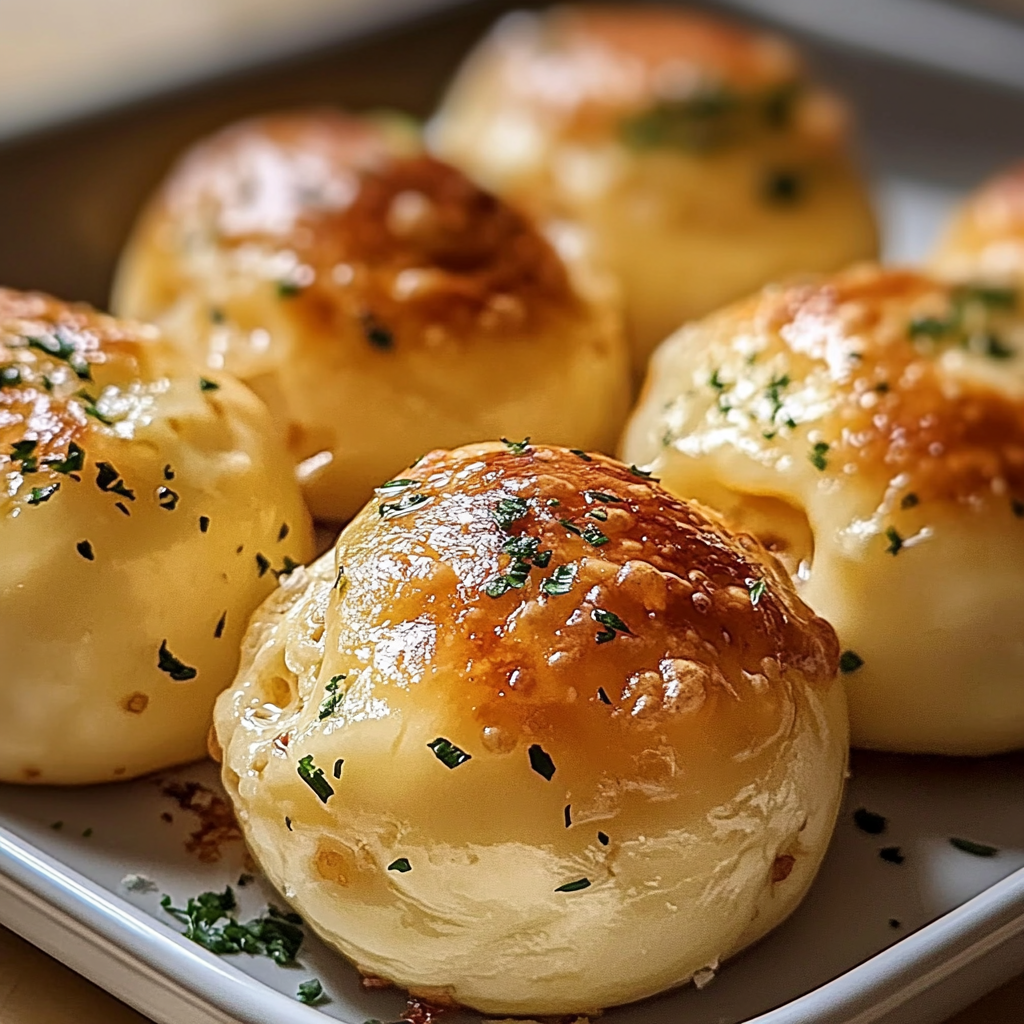
Essential Ingredients
Here’s what you’ll need to make this delicious dish:
- All-Purpose Flour: A versatile base that provides the perfect structure for soft, fluffy dough.
- Dried Yeast: Use fresh yeast for best results; it helps the dough rise beautifully.
- Warm Water: Make sure it’s lukewarm—too hot can kill the yeast; too cold won’t activate it.
- Granulated Sugar: Just a pinch helps feed the yeast and adds a touch of sweetness.
- Salt: Essential for flavoring the dough; don’t skip it!
- Garlic Powder: For that punchy garlic flavor throughout each bomb.
- Melted Butter: This is what makes everything taste better—don’t be shy!
- Shredded Cheese: Go for mozzarella for its amazing stretchiness when melted.
- Fresh Parsley (optional): Chopped parsley adds a lovely color and freshness once baked.
The full ingredients list, including measurements, is provided in the recipe card directly below.
Let’s Make it Together
Let’s dive right into making these glorious bites of joy!
Activate Your Yeast: In a small bowl, combine warm water and sugar. Stir in yeast and let sit until foamy—about 5 minutes. This step is crucial; you want happy yeast!
Make The Dough: In a large bowl, mix flour, salt, and garlic powder. Pour in the frothy yeast mixture along with melted butter. Stir until it forms a shaggy dough.
Knead Until Smooth: Transfer your dough to a floured surface and knead for about 8-10 minutes until smooth and elastic. Trust me; this workout will pay off later!
First Rise Time!: Place your kneaded dough into a greased bowl and cover it with a damp cloth. Let it rise in a warm spot until doubled in size—around 1 hour. Patience pays off!
Shape The Bombs: Once risen, punch down the dough gently (yes, relieve those stressors!). Divide into small balls about 1 inch each. Stuff each ball with shredded cheese before sealing.
Bake To Perfection!: Preheat oven to 375°F (190°C). Arrange your stuffed balls on a baking sheet lined with parchment paper. Brush generously with melted butter and sprinkle with parsley if using.
Once golden brown on top (about 15-20 minutes), remove from oven and get ready for some mouthwatering deliciousness! Enjoy them warm—they’re best fresh out of the oven.
You’ve just created something magical! Now gather friends or family around because these Cheesy Garlic Butter Bombs are made for sharing—or hoarding—your choice!
You Must Know
- Cheesy Garlic Butter Bombs are a delightful snack bursting with flavor
- Their gooey center and crispy exterior make them irresistible, perfect for parties or movie nights
- These bites are not just tasty; they’re also incredibly easy to make, ensuring fun in the kitchen
Perfecting the Cooking Process
Start by preparing your dough while the garlic butter simmers. This ensures both components are fresh and hot when you assemble your cheesy bombs.
Add Your Touch
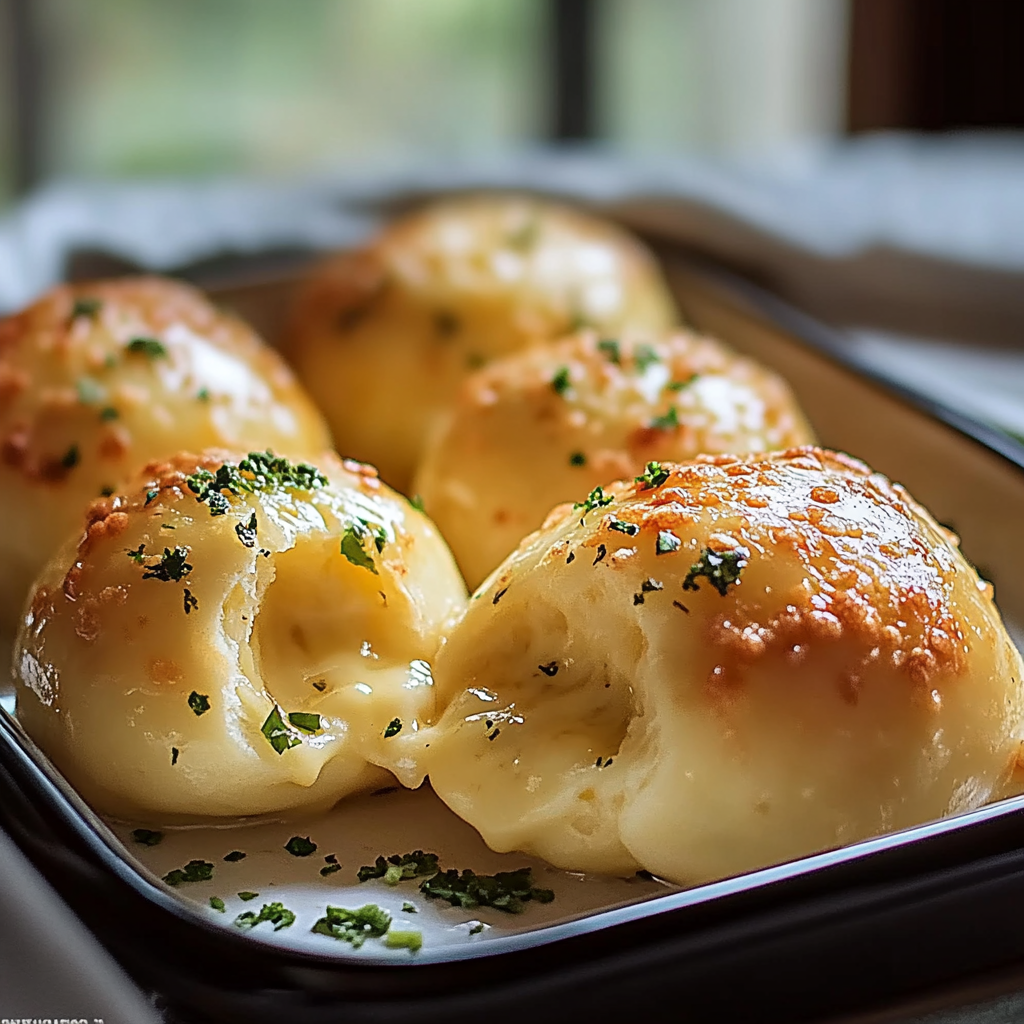
Feel free to mix in herbs like parsley or swap out mozzarella for pepper jack cheese. These tweaks can elevate the flavor profile significantly.
Storing & Reheating
Store any leftovers in an airtight container in the fridge. Reheat in the oven at 350°F for about 10 minutes to restore their crispiness.
Chef's Helpful Tips
- Ensure your garlic is finely minced for even distribution throughout the butter
- Avoid over-stuffing the dough to prevent leakage during baking
- Let the cheesy bombs cool slightly before serving to avoid burnt tongues!
Creating these cheesy delights brings back memories of my first cooking attempt with friends, and let me tell you, laughter filled the kitchen as we tried to avoid cheese explosions.
FAQ
Can I use different types of cheese in Cheesy Garlic Butter Bombs?
Yes, feel free to experiment with cheeses like cheddar or gouda for varied flavors.
How do I know when my Cheesy Garlic Butter Bombs are done?
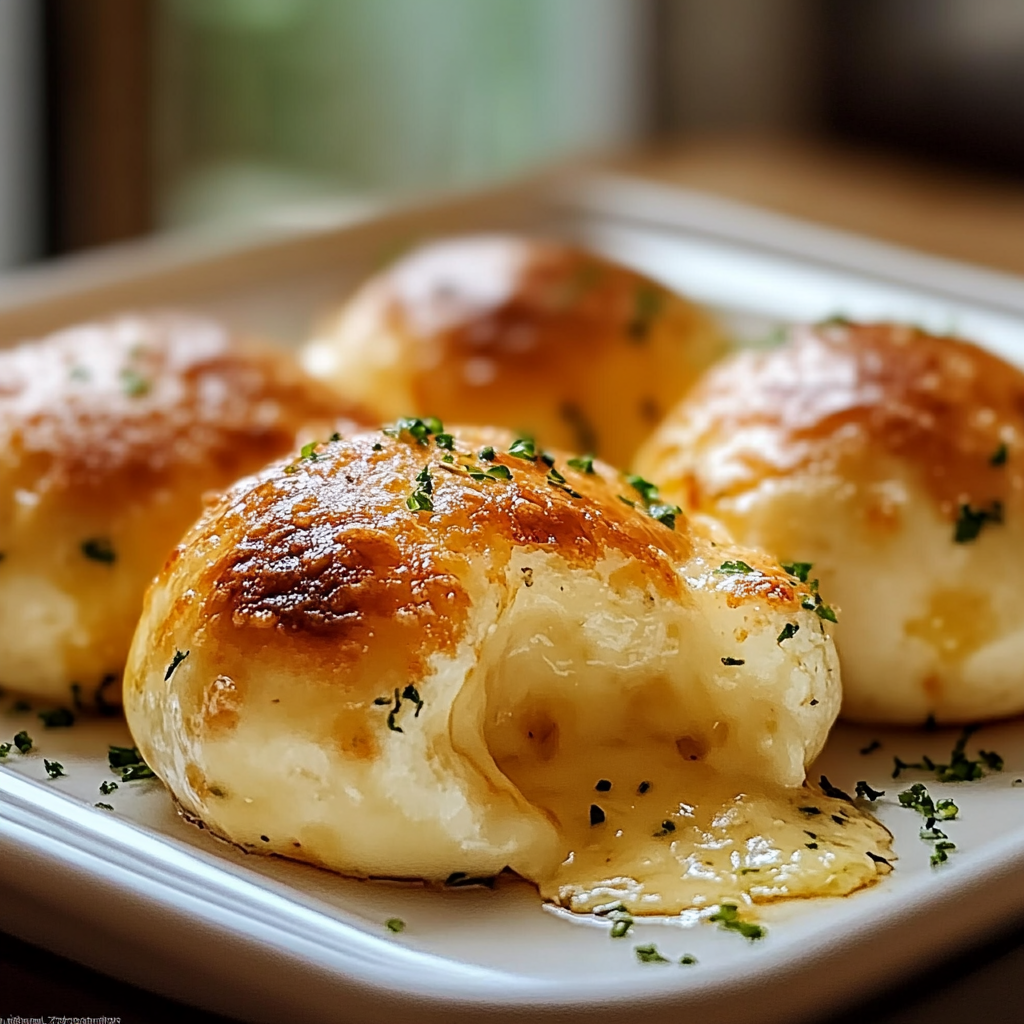
They should be golden brown and crispy on the outside, usually around 15-20 minutes at 375°F.
Can I make these ahead of time?
Absolutely! Prepare them and refrigerate before baking. Just add a few extra minutes to baking time.
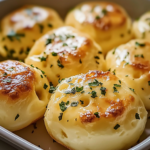
Cheesy Garlic Butter Bombs
- Total Time: 50 minutes
- Yield: Approximately 12 servings
Description
Cheesy Garlic Butter Bombs are delightful, bite-sized treats filled with gooey cheese and infused with rich garlic flavor, perfect for parties or cozy nights in.
Ingredients
- All-Purpose Flour
- Dried Yeast
- Warm Water
- Granulated Sugar
- Salt
- Garlic Powder
- Melted Butter
- Shredded Cheese (mozzarella recommended)
- Fresh Parsley (optional)
Instructions
- Activate the yeast by combining warm water and sugar in a bowl. Stir in yeast and let sit until foamy (about 5 minutes).
- In a large bowl, mix flour, salt, and garlic powder. Add the frothy yeast mixture and melted butter; stir until a shaggy dough forms.
- Knead the dough on a floured surface for 8-10 minutes until smooth and elastic.
- Place the kneaded dough into a greased bowl, cover with a damp cloth, and let rise in a warm spot until doubled in size (about 1 hour).
- Punch down the dough and divide it into 1-inch balls. Stuff each ball with shredded cheese before sealing.
- Preheat oven to 375°F (190°C). Arrange stuffed balls on a parchment-lined baking sheet, brush with melted butter, and sprinkle with parsley if desired. Bake for 15-20 minutes until golden brown.
- Prep Time: 30 minutes
- Cook Time: 20 minutes
- Category: Appetizers
- Method: Baking
- Cuisine: American
Nutrition
- Serving Size: 1 serving
- Calories: 170
- Sugar: 1g
- Sodium: 200mg
- Fat: 8g
- Saturated Fat: 4g
- Unsaturated Fat: 3g
- Trans Fat: 0g
- Carbohydrates: 20g
- Fiber: 1g
- Protein: 5g
- Cholesterol: 15mg

